Build Log March 2025
March 31st, 2025
Worked on AI macro for FreeCAD, which uses Ollama LLM to create Python code of CAD objects. https://spacecruft.org/deepcrayon/FreeCADLLM
March 28th, 2025
Took a great tour of Denver Air Route Traffic Control Center. https://en.wikipedia.org/wiki/Denver_Air_Route_Traffic_Control_Center
March 27th, 2025
5 hours, 203.5 total
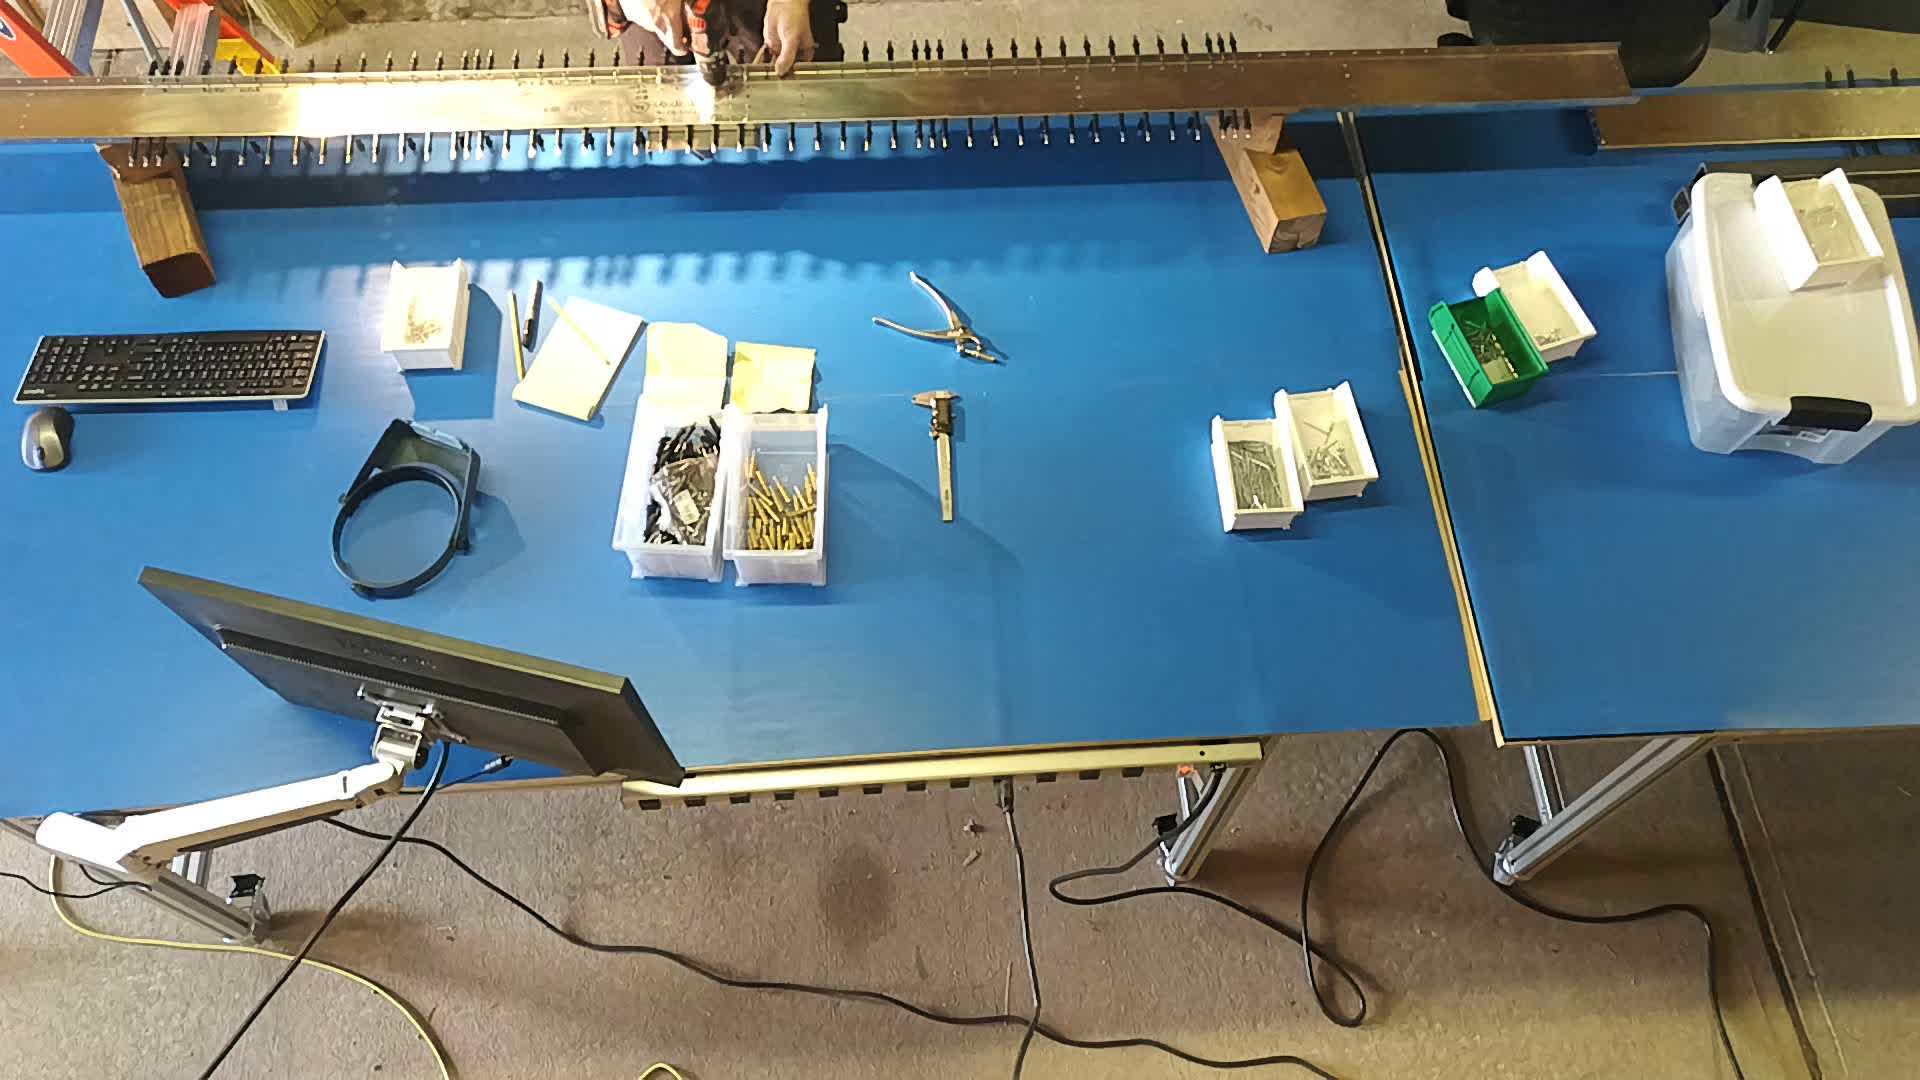
The weather has been nice for the last two days. This makes working in the barn much more pleasant, as since I started this project it has seemingly always been below freezing and 30 mph winds…
There’s a new video by Christina and Brandon Fosdick where they discuss all the drilling needed. It’s very helpful for me. They started around the same time I did, but they’re way ahead of me already. https://www.youtube.com/watch?v=O8HXPRFUWIs
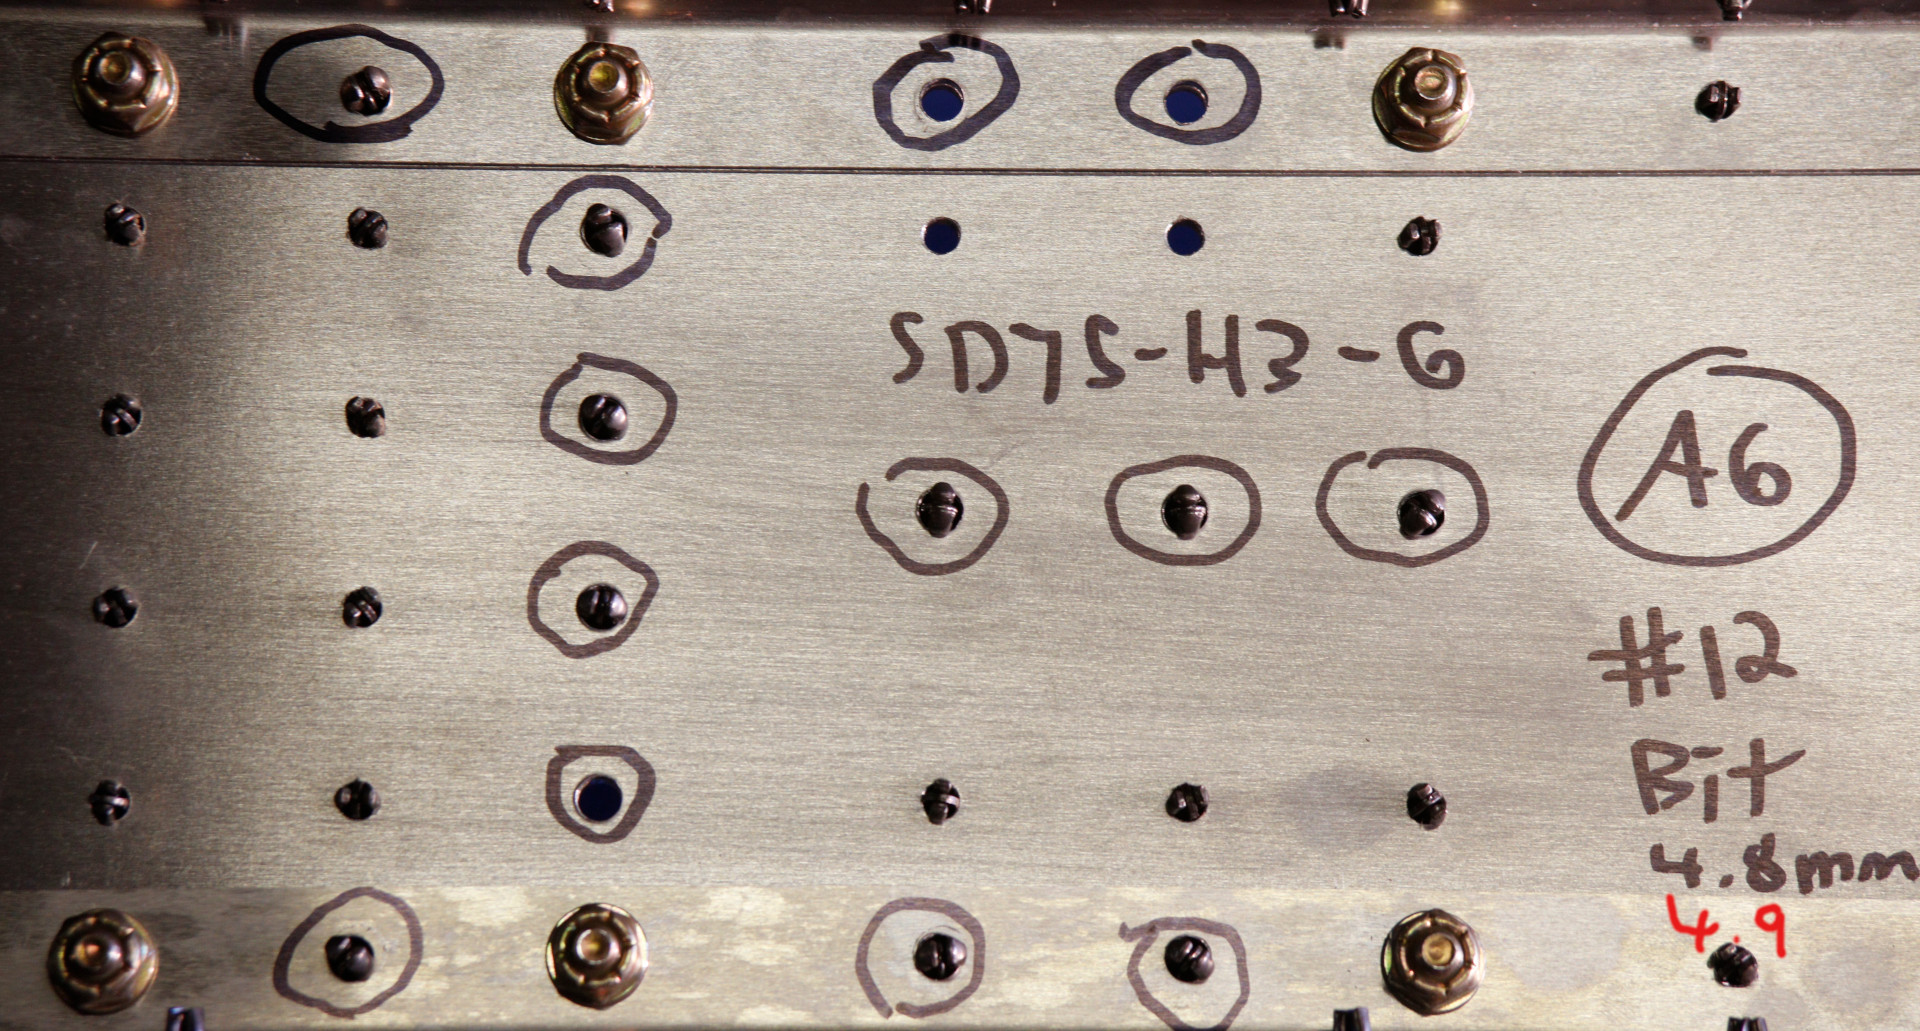
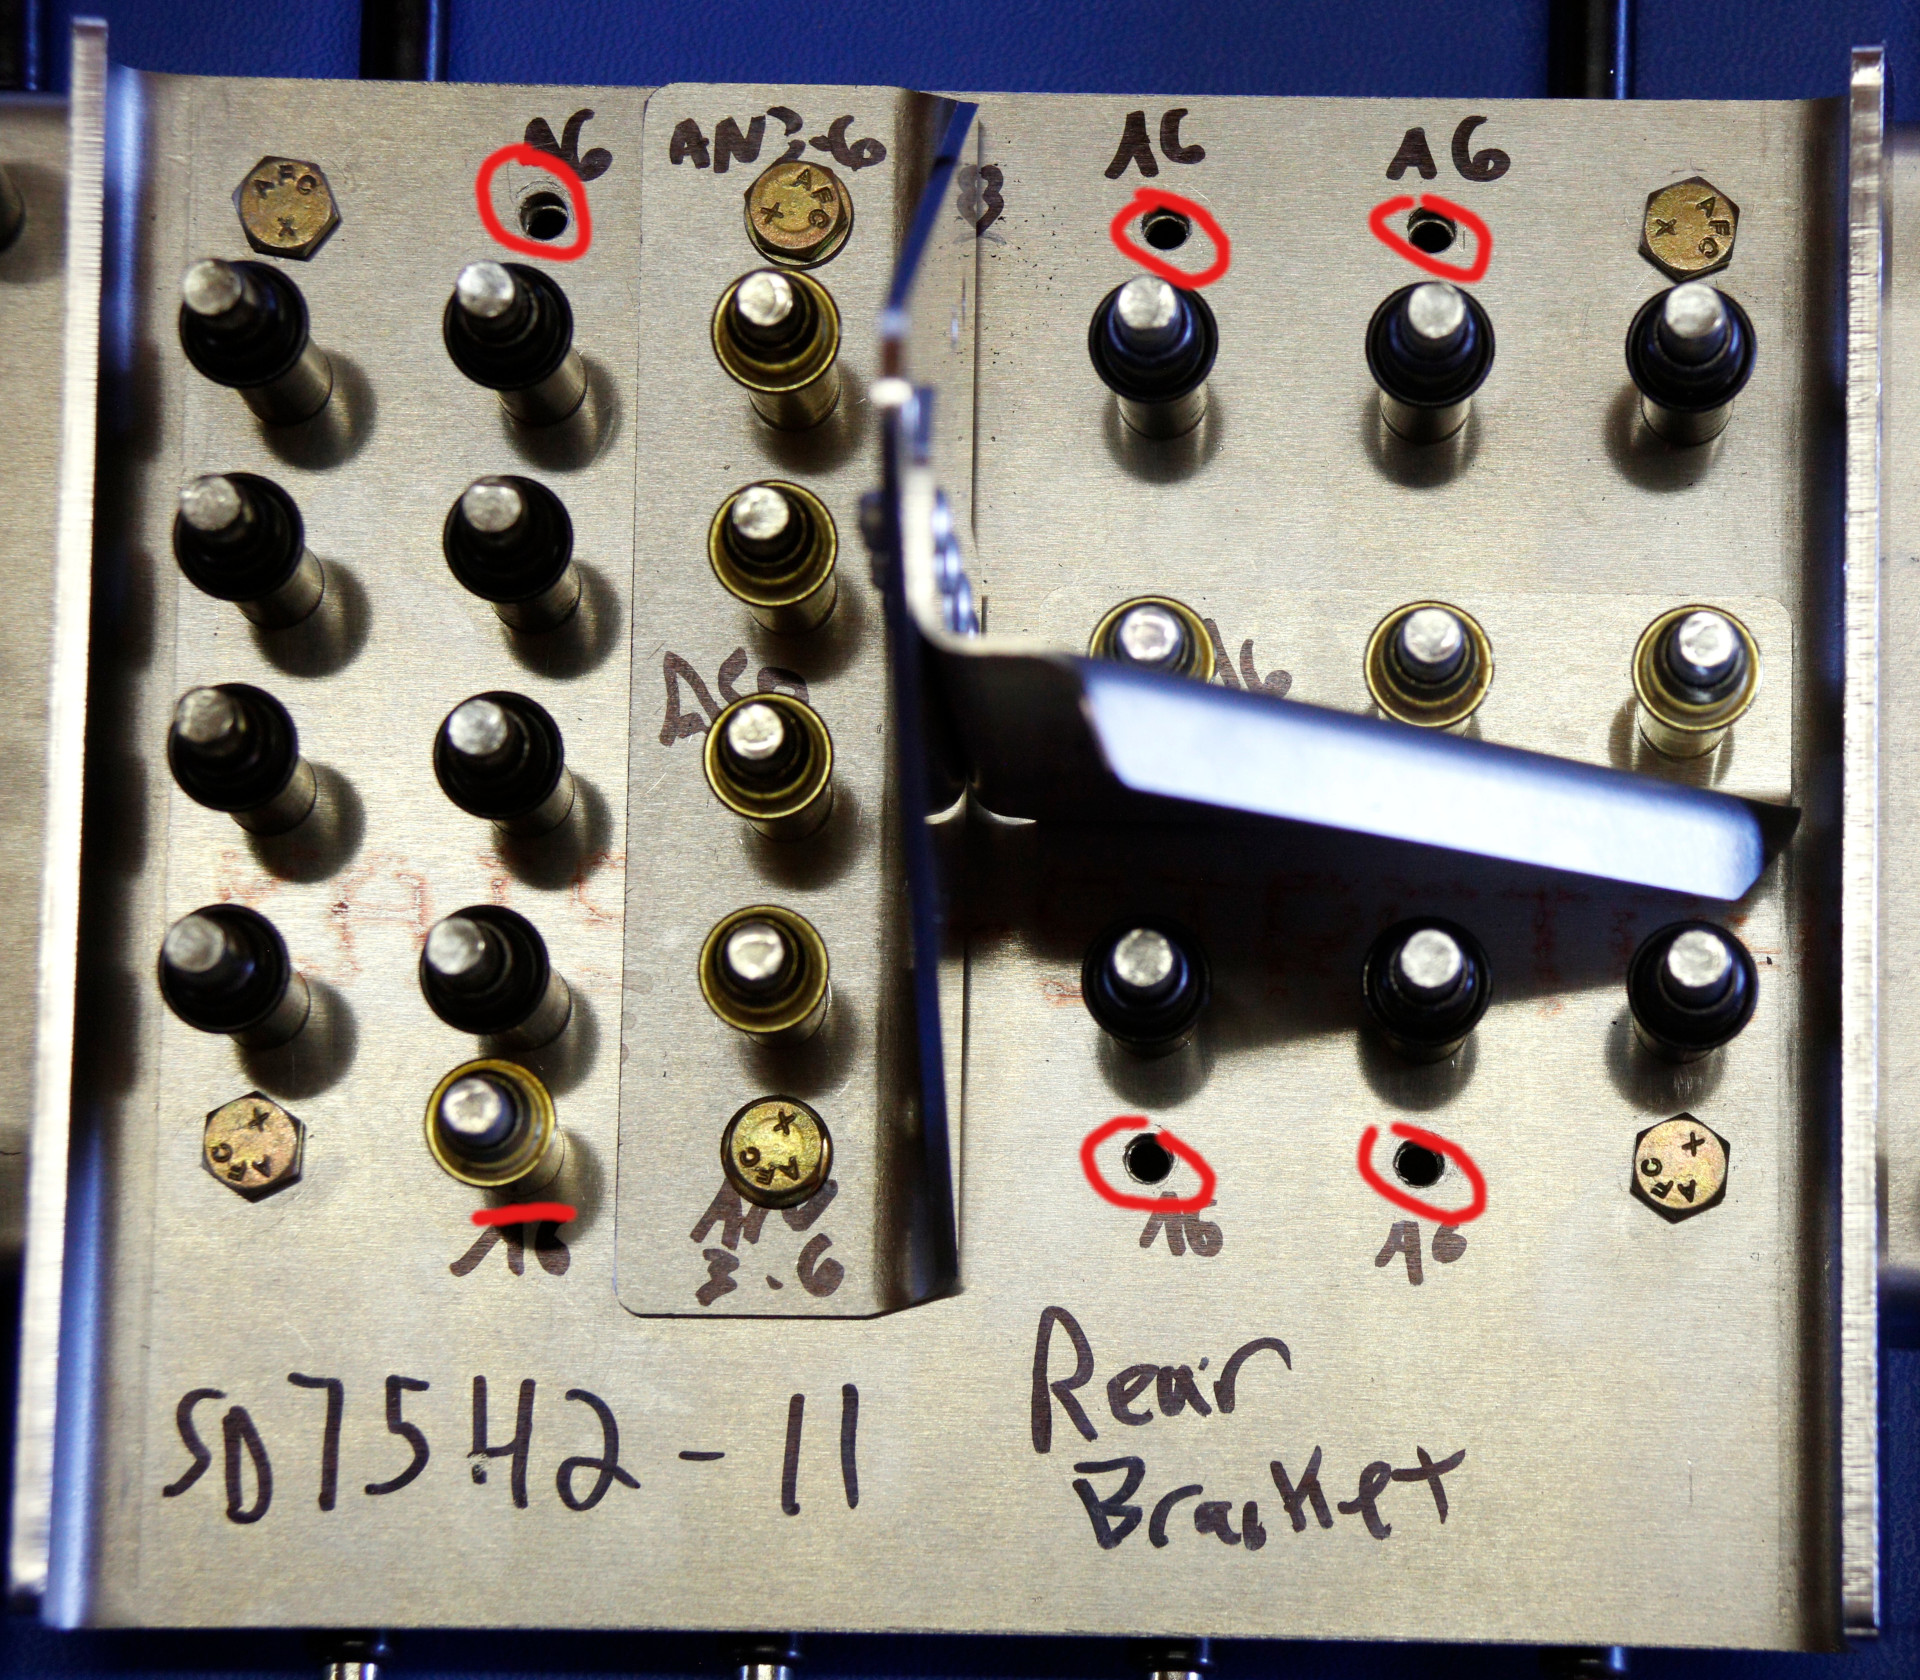
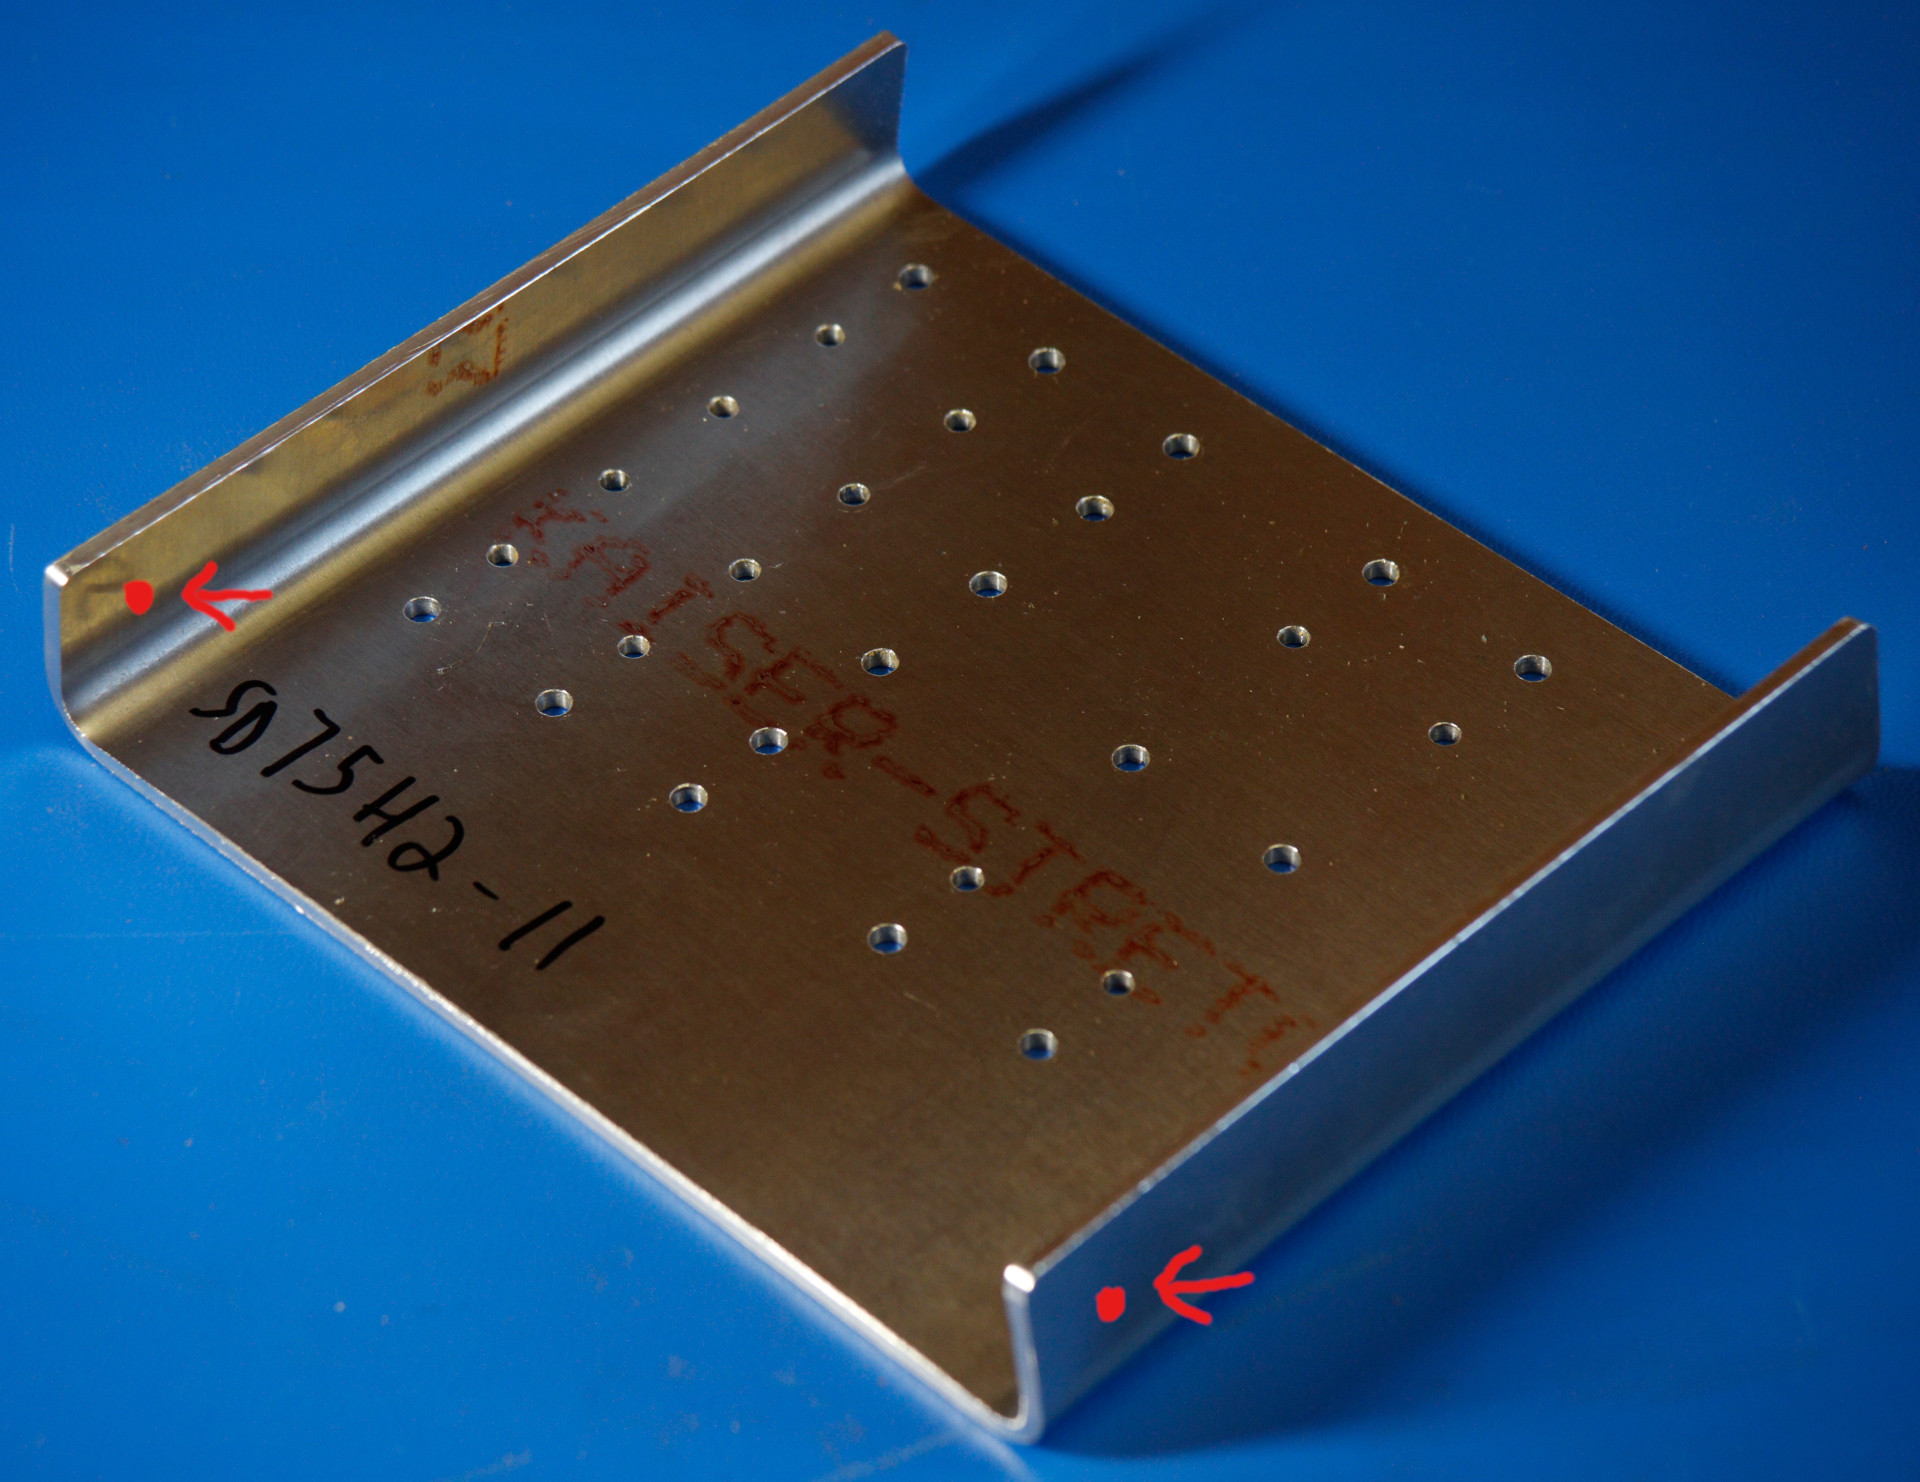
The parts to attach to SD75H2-11 need to be drilled out for A6. Unfortunately, the Construction Standards document from Zenith doesn’t specify the size for this. It has it for A4 and A5, but “A6” doesn’t appear anywhere in the document.
Got another quick answer from Zenith about A6 rivets: “A6 is 3/16 or a number 12 drill bit.”
He also mentioned: “I do know that the rear ribs on the wing will have to be open up to 20 from a number 40.”
A 3/16" bit is definitely too small.
Tried a 4.8mm bit, which is closet to a number 12 bit, but it was too small too.
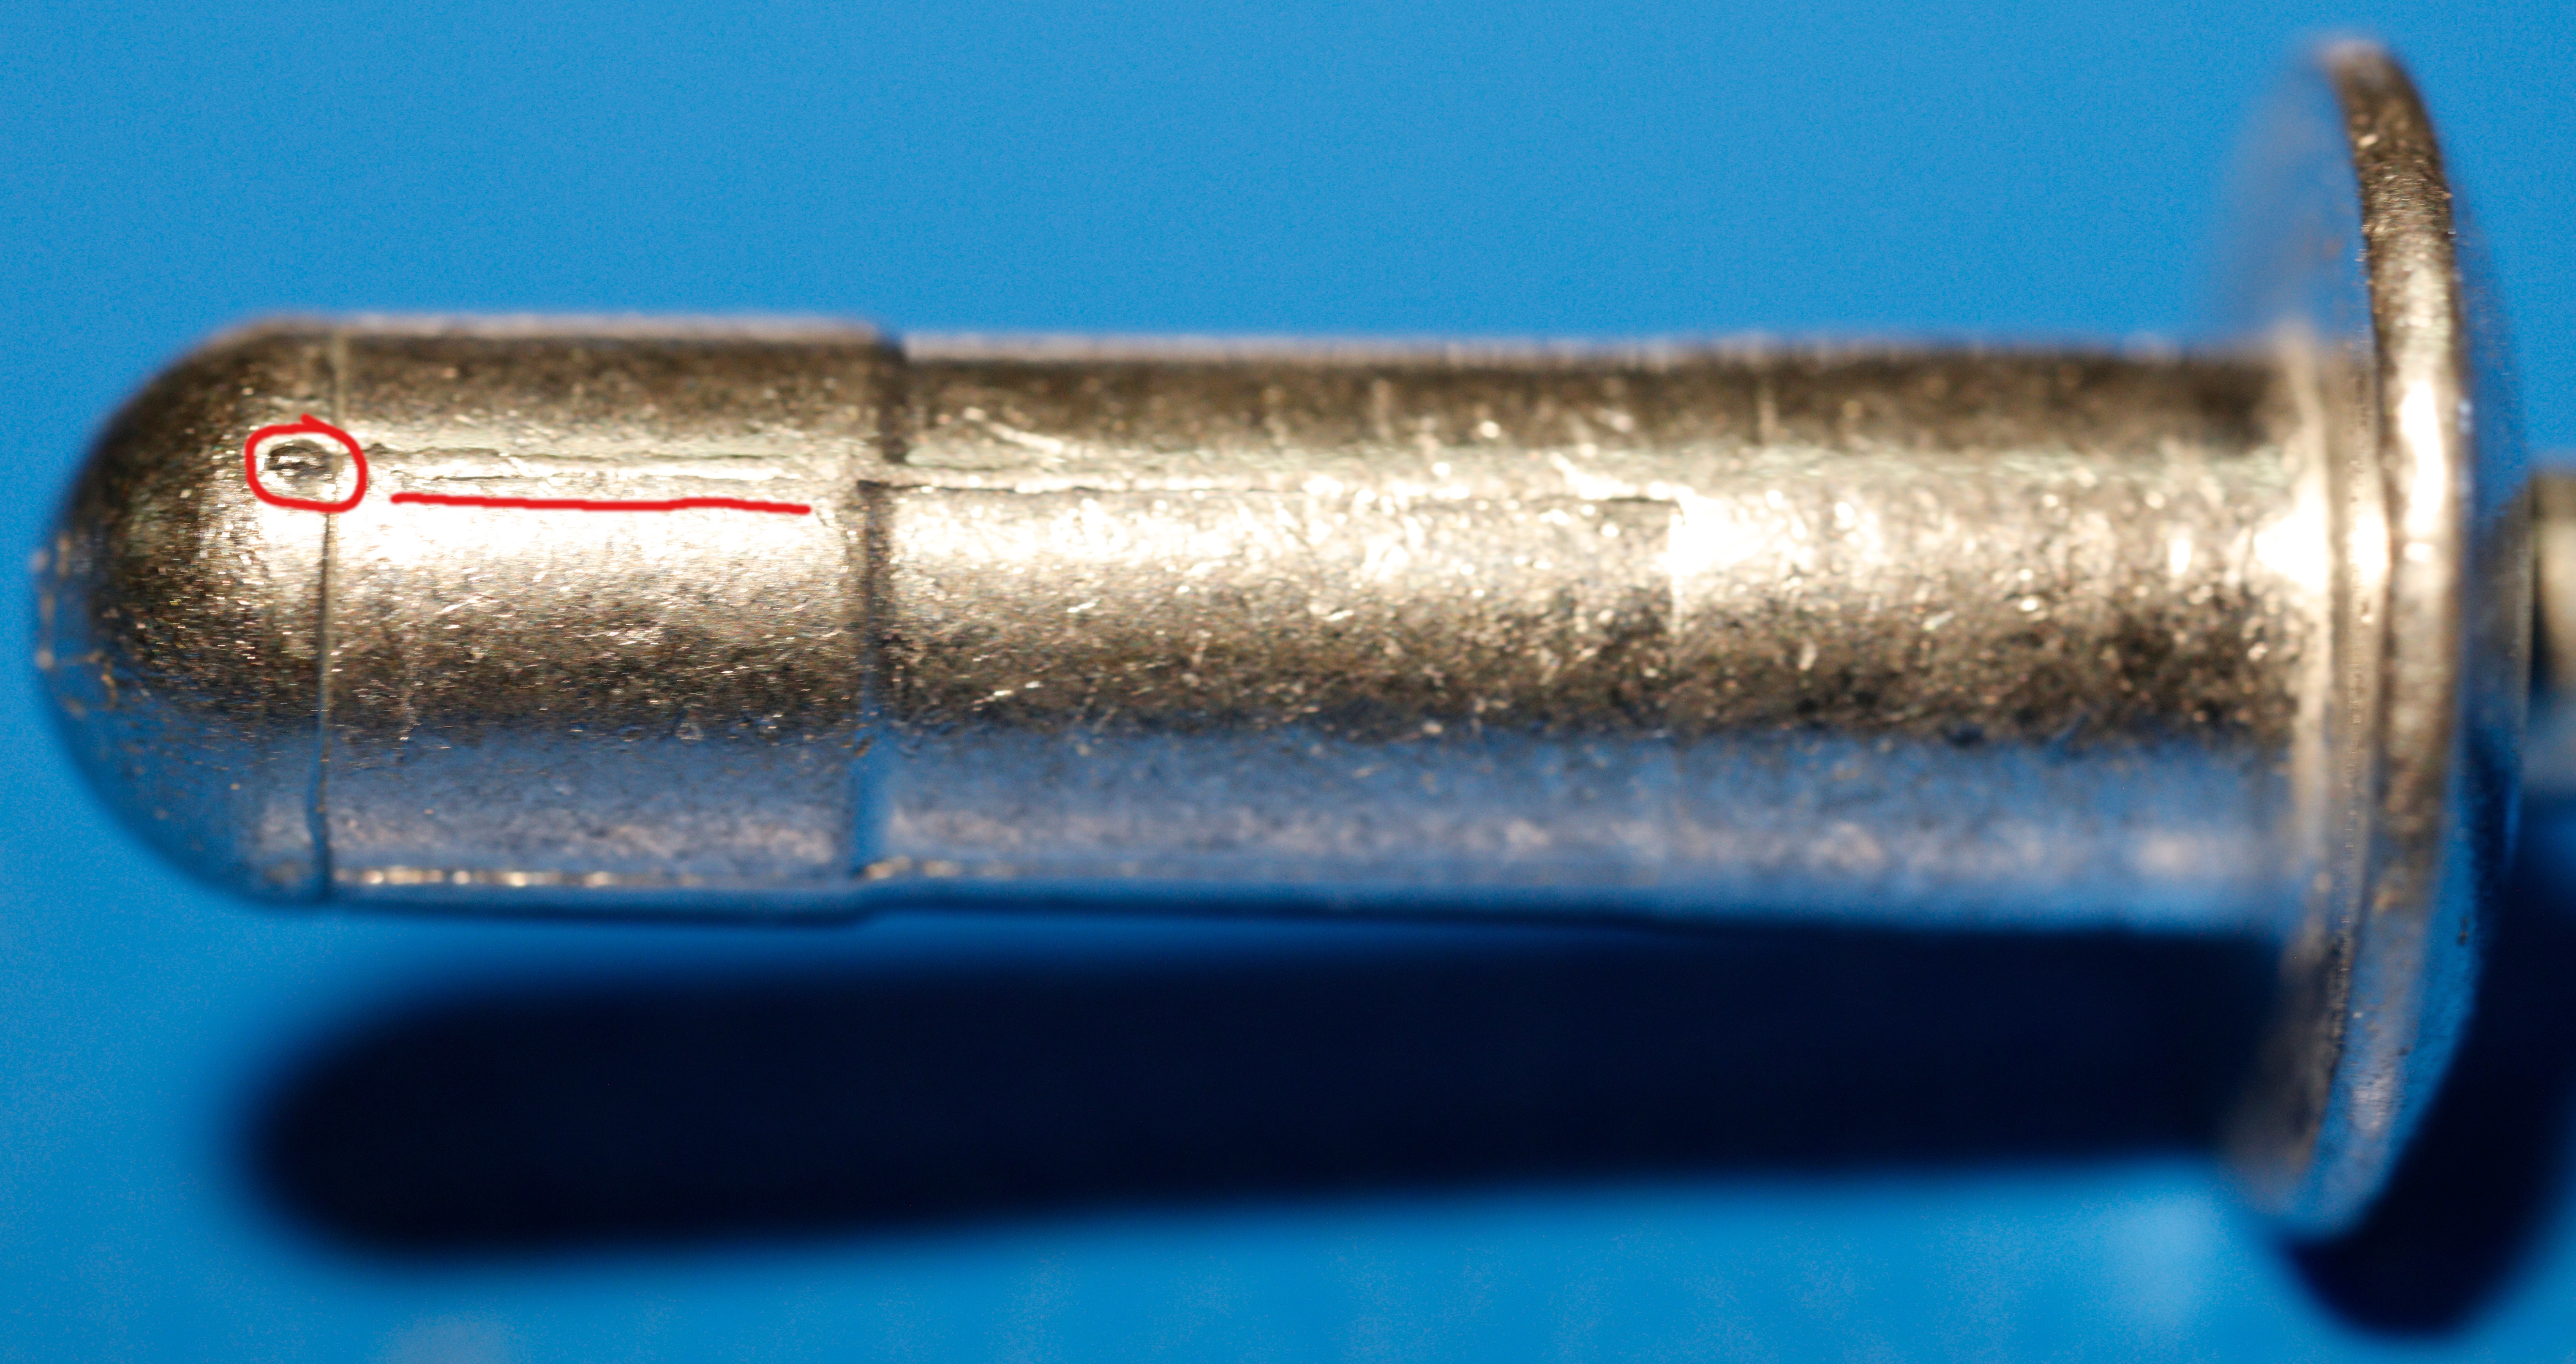
The A6 rivets are supposedly 3/16" (4.7625 mm), but they are actually a bit larger. The head goes up to at least 4.83 mm. Plus they aren’t perfectly round. They have a manufacturing “seam” on them which makes them a bit larger too.
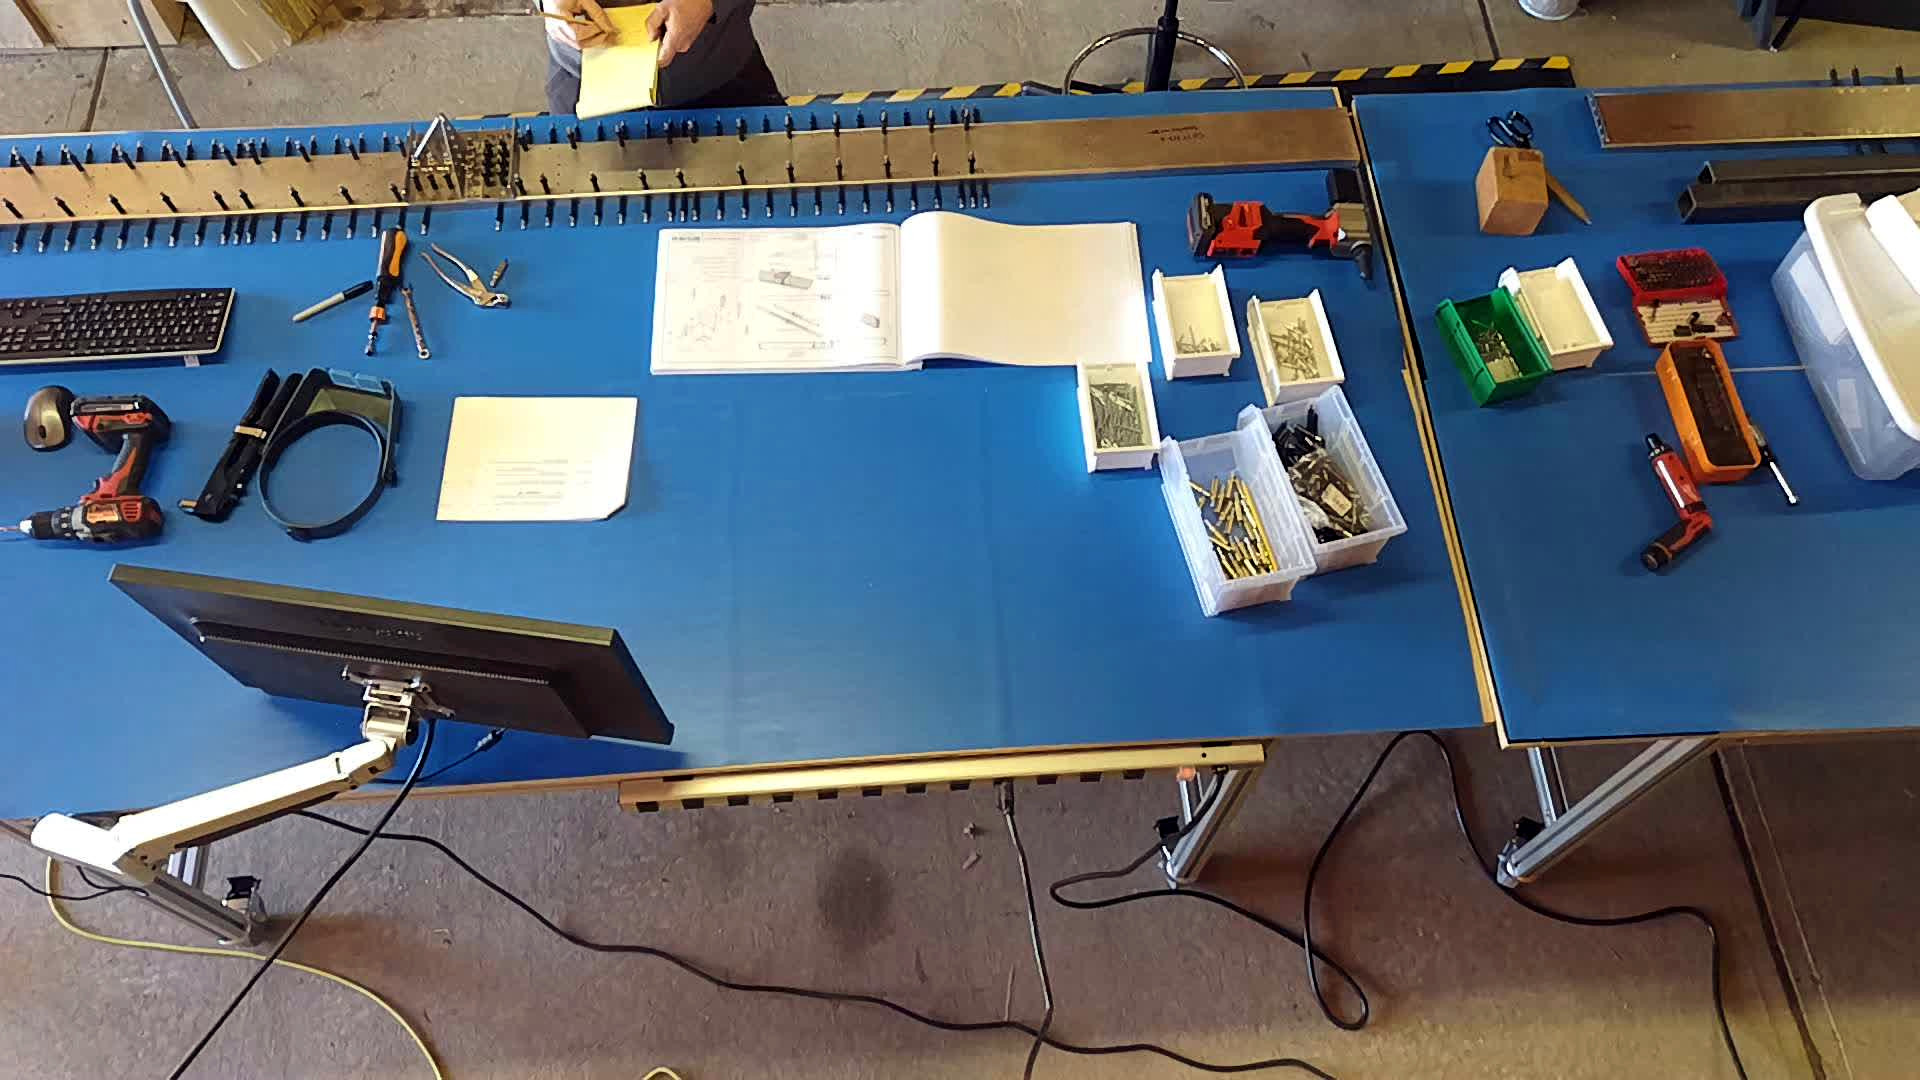
I couldn’t drill the holes from the top because other parts, which are bolted on, are now in the way. So I had to flip it over, but the parts were sticking out too far, so the 4" x 4" wood blocks I was using weren’t big enough. I cut up a couple more 4" x 4" wood blocks to stack underneath them, giving around 8" of clearance. That worked.
The script that runs each night to create the time lapse video stopped working correctly for the side shot video. The overview video from on top is OK. The one that stopped is failing on a single image, that is zero bytes, and causing
ffmpegto fail at that point. I’ll add a test to remove 0 byte files.
March 26th, 2025
6 hours, 198.5 total

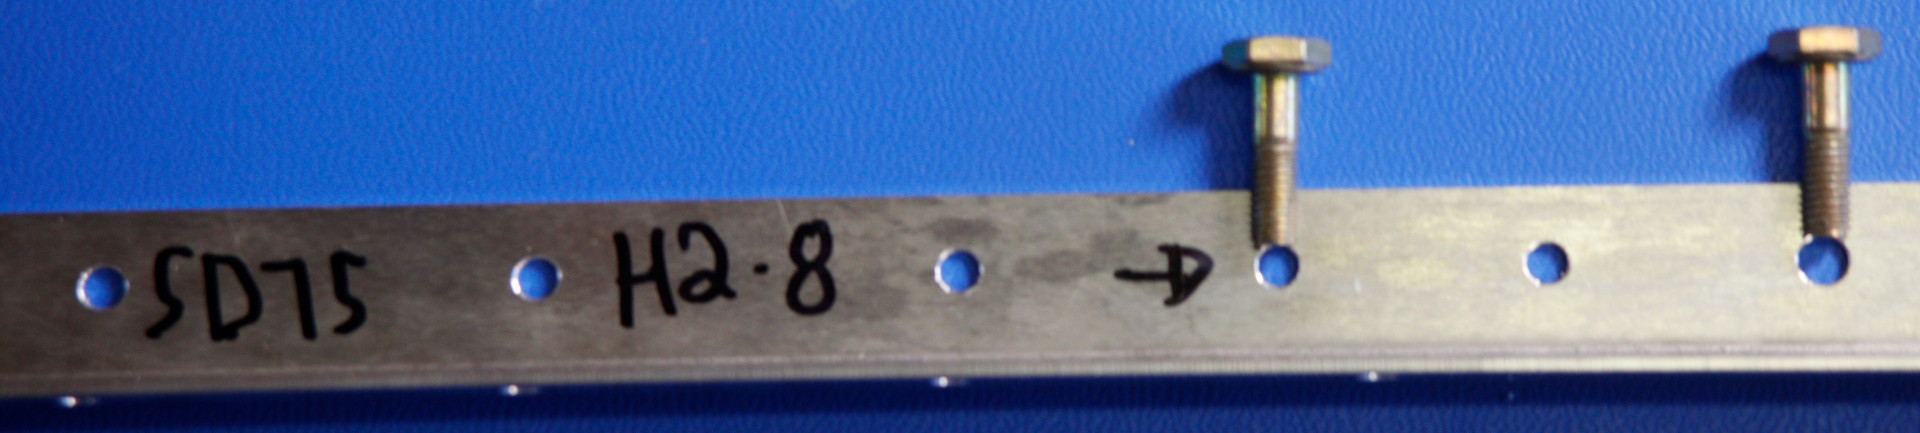
To attach SD75H2-11 many of the holes need to be drilled out. SD75H2-11 is ok, but all the parts that attach to it have the wrong hole sizes for the bolts and A6 rivets.
Received torque tool tester from McMaster-Carr. McMaster-Carr part number 4457A41. Manufactured by Proto Industrial, model J6470. The manufacturer’s website: https://www.protoindustrial.com/product/j6470/proto-electronic-torque-testers
Used a Lyman torque wrench. The manufacturer’s website: https://www.lymanproducts.com/torque-wrench
Torque tool tester results of the Lyman torque wrench, in inch-pounds:
Tool |
Result |
|---|---|
10 |
9.113 |
15 |
12.46 |
20 |
18.16 |
25 |
22.60 |
30 |
28.80 |
35 |
34.64 |
40 |
38.49 |
45 |
42.86 |
50 |
48.73 |
(Re-)Add Tools page to this documentation with lots of photos.
Update DSLR photos on https://media.aircraft.moe/.
March 25th, 2025
2 hours, 192.5 total
Organize and round up tools which over the decades have gotten scattered everywhere…
Ordered torque tool tester from McMaster-Carr.
Spent way too long figuring out something which “should” have taken a few seconds, namely proper torque for AN3 bolts.
I asked Zenith and two other builders what torque they use and got three different answers.
In the Installation Parts List (IPL), which is Zenith’s assembly instructions, step 6 of SD75-HS-02 for the AN3-5A bolt, reads:
“TORQUE SPECIFICATION: Refer to the Construction Standards (CS) for Zenair Light Airplanes, page CS#405. For more details also refer to AC43.13-1B ACCEPTABLE METHODS, TECHNIQUES AND PRACTICES – AIRCRAFT INSPECTIONS & REPAIR paragraph 7-40”.
The Construction Standards (CS) document that comes with the Super Duty download package is located at
00 Introduction/DS.pdfin the archive. This PDF is titled “ZODIAC CH 601 XL”, dated 2006.In the PDF, CS #405 is titled “BOLTS”, but doesn’t have torque information. Torque information is in CS #407, but that just lists threads, not AN bolts.
Going back to CS #405, the bottom table shows that AN-3 is 3/16".
In CS #405, the top table shows that 3/16" bolt has 10-32 threads per inch.
Then with that 10-32 threads per inch can be referenced in CS #407 under “AN365” as 20-25 inch-pounds. (The table says “inch/pounds”, but shouldn’t have the “/”.)
I wrote to Zenith to confirm the torque setting, and quickly received this response:
“The AN3 bolts are torqued to 2-25 inch-pounds. You can also check the construction standards book from Zenith. https://zenithair.net/wp-content/uploads/2023/05/701-construction-manual-intro-18pages.pdf”.
I assume they meant “20-25 inch-pounds”, not “2-25 inch-pounds”.
The PDF they linked is another Construction Manual, titled “701 Construction Manual-2014”, dated from 2014. This document is 18 pages, whereas the one that came with the Super Duty archive is 41 pages.
The PDF in the link they suggested to check reads:
“Bolt torque: Table for AN 365 nuts on AN-3 to -8 bolts, dry (not oiled) threads - refer to Chapter 7 section 3 of AC43.13-1B”.
So that document doesn’t have anything about torques, but refers to this 646 page document from 1998 by the FAA: https://www.faa.gov/documentLibrary/media/Advisory_Circular/AC_43.13-1B_w-chg1.pdf
Chapter 7 section 3 of the document is titled “Bolts” and has table 7-1: “Recommended torque values (inch-pounds)”.
The PDF link Zenith sent says to look at the table “for AN 365 nuts”.
But in FAA’s Table 7-1, “AN 365” is not listed.
It does have “10-32” threads listed at “20-25” inch-pounds for AN310, and “12-15” for AN320.
I asked two other Super Duty builders what they used, and one said “15-20” the other said “28” inch-pounds.
In lieu of all this cross referencing of documents, the IPL should just list the proper torque.
I will use 20-25 inch-pounds.
March 24th, 2025
1 hour, 190.5 total
Read Robert Heller’s great docs and photos of his build: https://www.myeabuild.com/all-the-latest-news/
Correspond with a MakerPlane user that has been testing my fork.
March 22nd, 2025
3.5 hours, 189.5 total

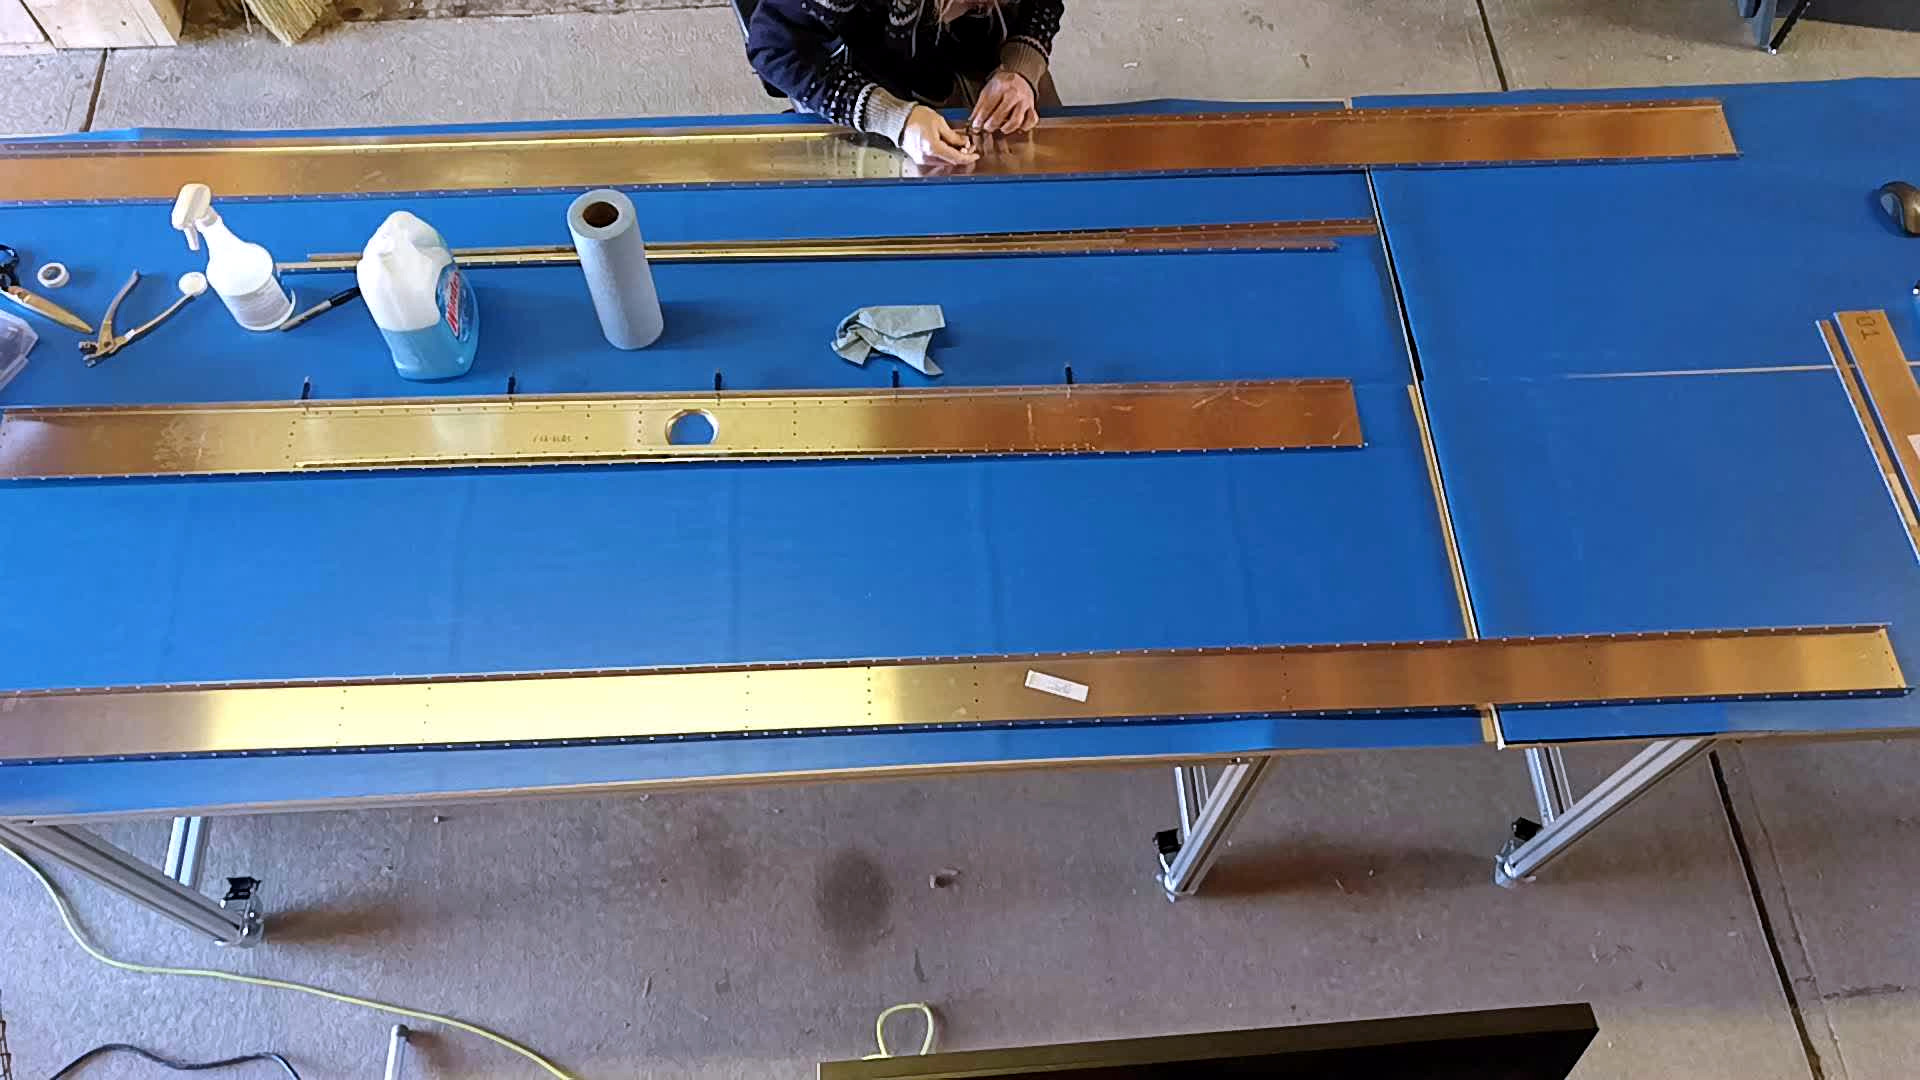
Back to riveting!
Lots of clecos too.
Added Errata page to this documentation.
Drilled undersized holes, see errata.
Need to check proper torque for bolts.
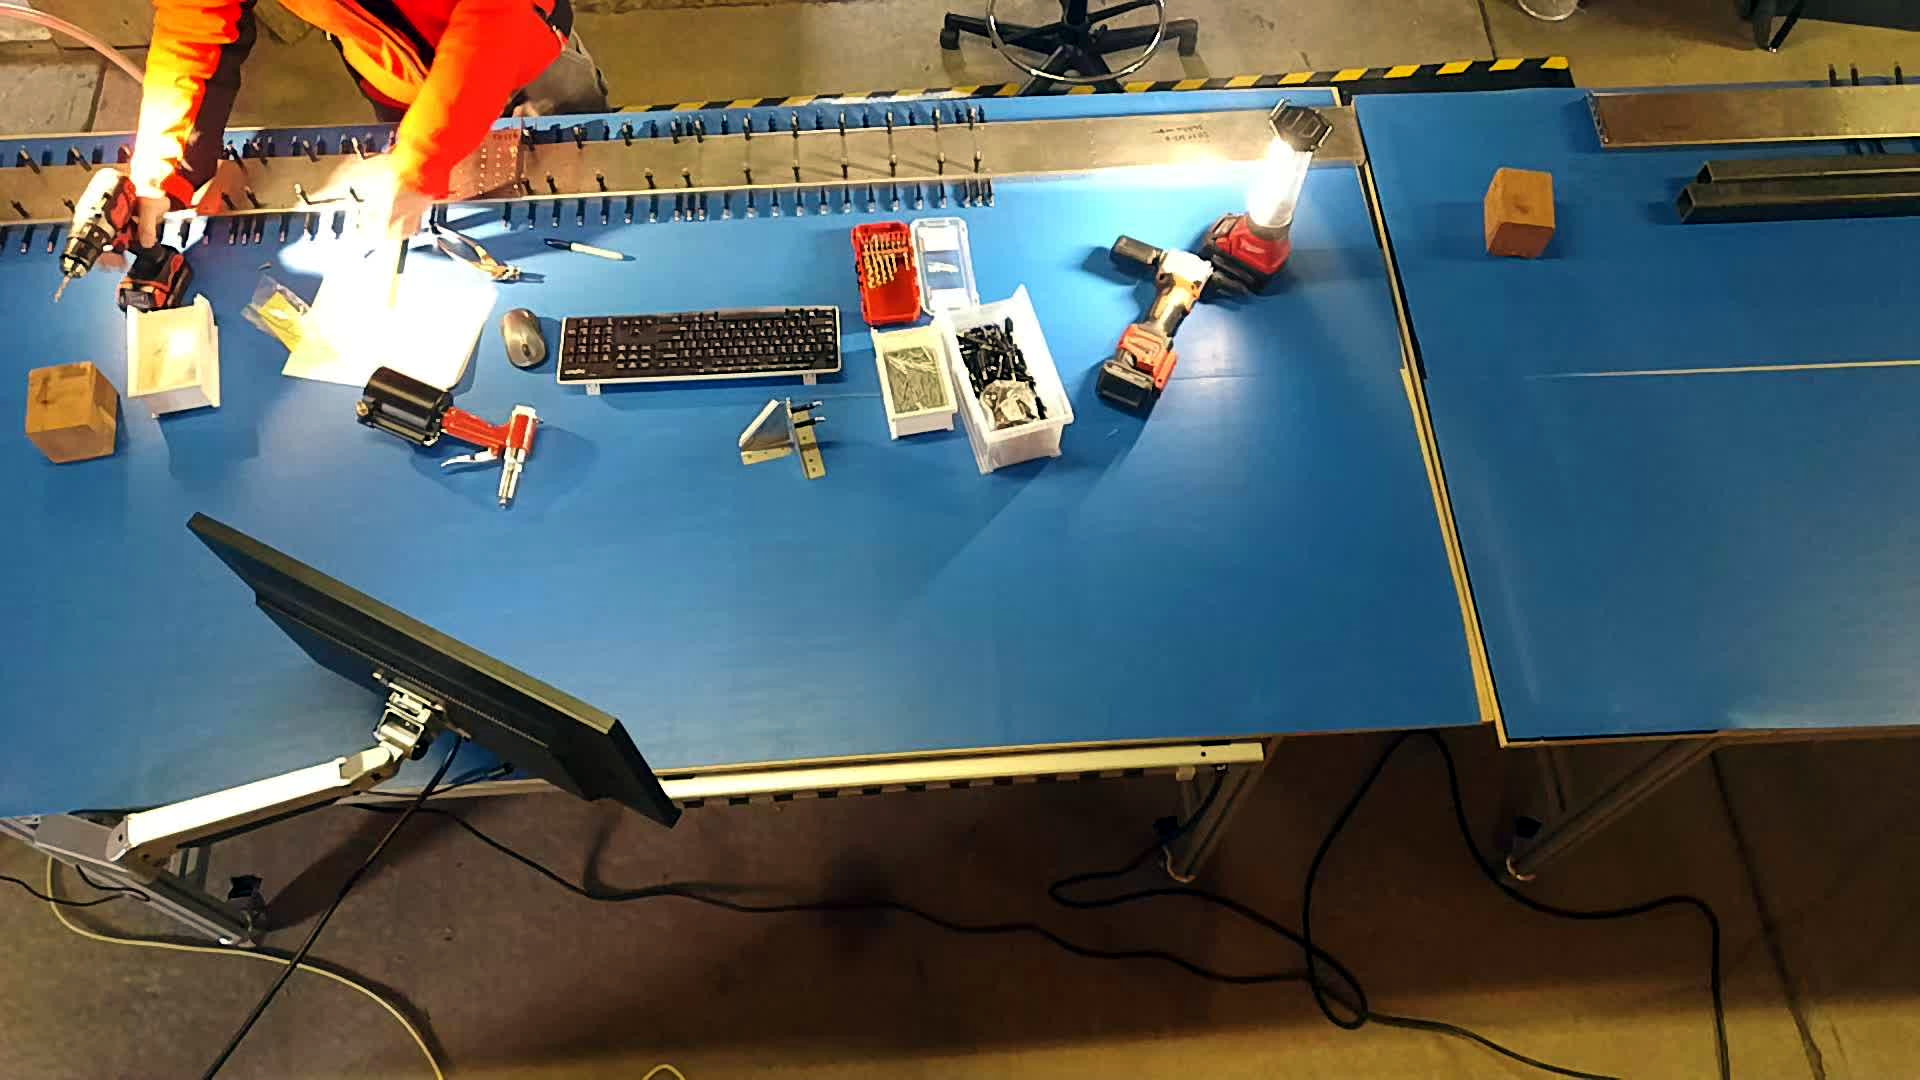
Set up computer monitor on swing arm attached to workbench.
March 21st, 2025
Lots of working on getting MakerPlane working. Updates to PyQt6.
Wrote a crufty script to migrate PyQt5 apps to PyQt6: https://spacecruft.org/spacecruft/pyqt5topyqt6
My code server is getting pounded by every AI bot in the world right now.
March 20th, 2025
Received some “Open Source Aviation” avionics parts from MakerPlane a bit ago. https://makerplane.org/ https://github.com/makerplane/
MakerPlane pyEfis and other supporting code use PyQt from Riverbank Computing. PyQt is a pain to build on a Raspberry Pi. I wrote a post in MakerPlane’s forum explaining the issues. https://www.makerplane.org/forum/viewtopic.php?t=453
I updated MakerPlane’s pyEfis to use PyQt6 in my fork: https://spacecruft.org/aviation/pyEfis
I got the MakerPlane LCD display working with the Pi and running my PyQt6 pyEfis fork.
March 17th, 2025
4.75 hours, 186 total
Cleaned, removed stickers, deburr replacement parts. Replacements of parts from March 5th.
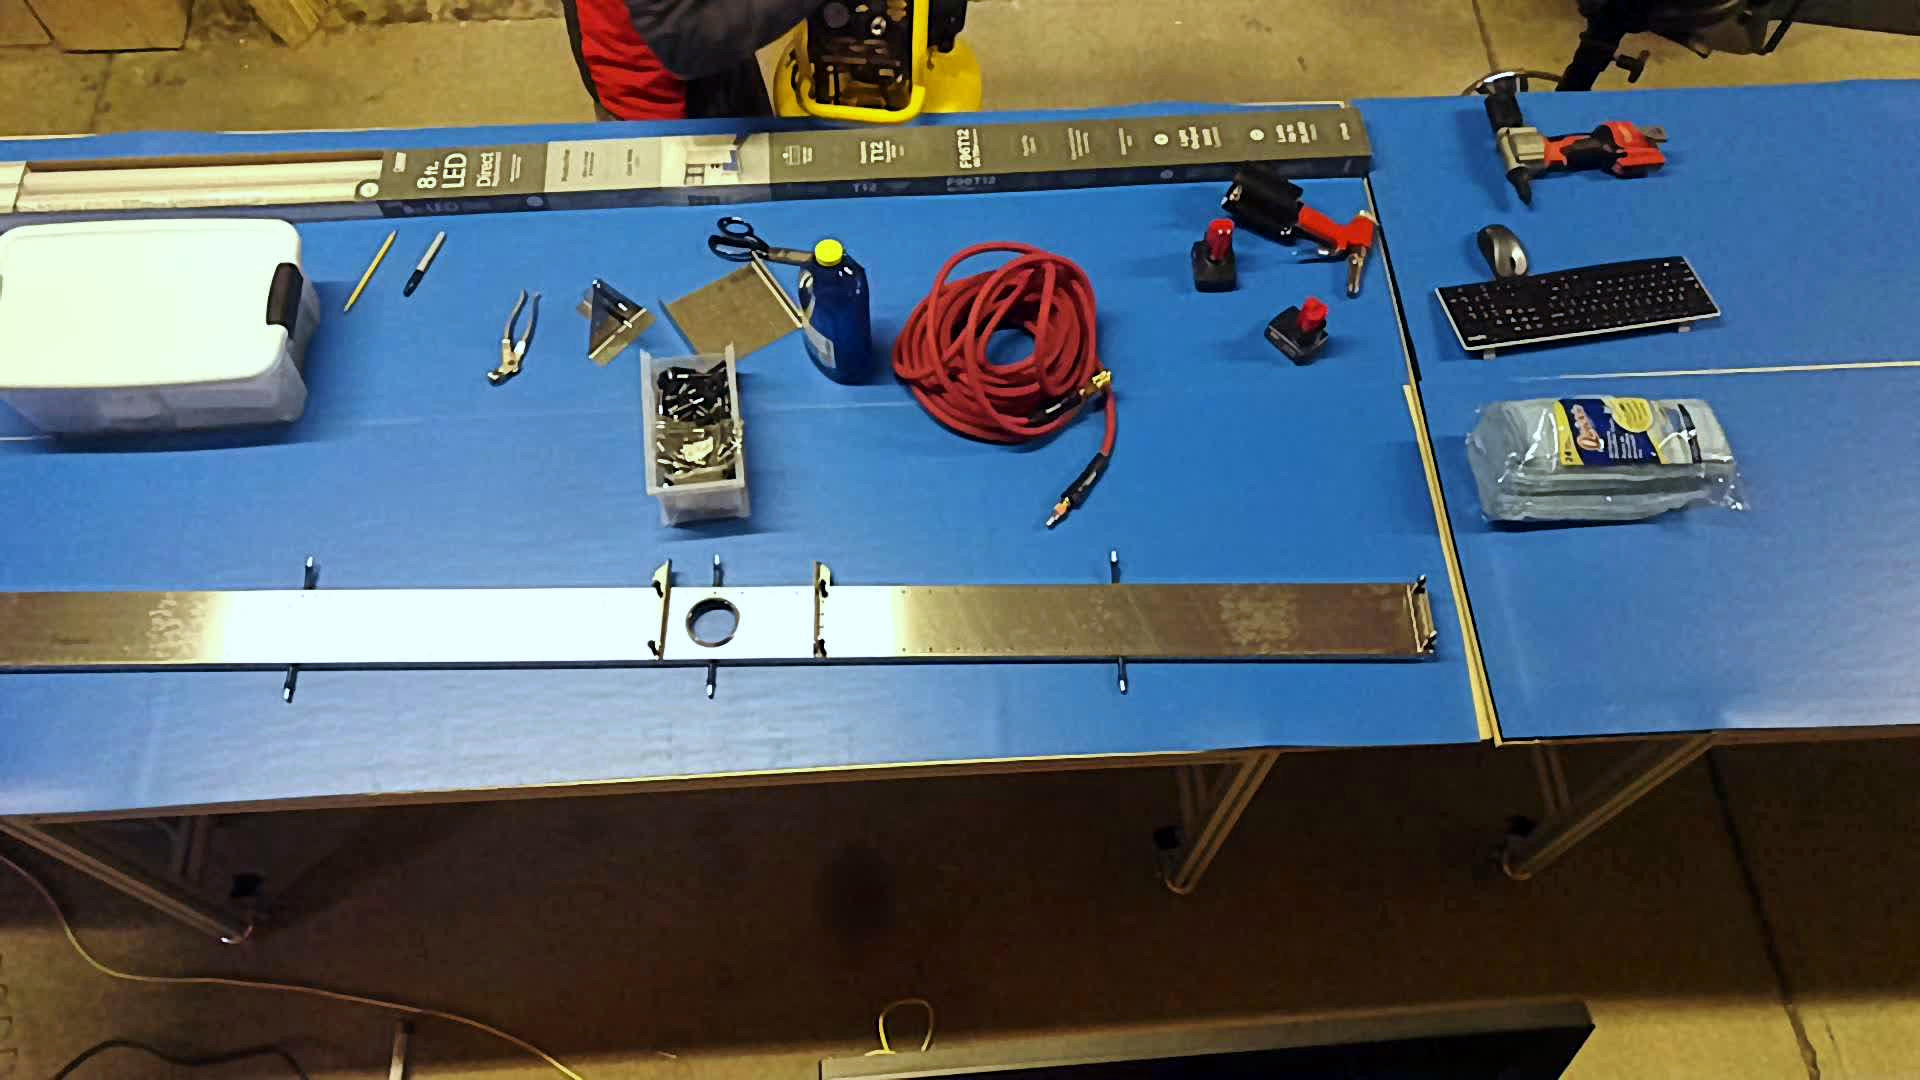
Set up new light, power strips, bin panel, wire shelving.
Cleaned off lots of black gunk on steel fixtures.
March 16th, 2025
Wrote a new application,
atc2txt, a Python program for automatic speech recognition and transcription of ATC (Air Traffic Control) streams. https://atc2txt.orgWatched hockey, does that count?
March 13th, 2025
Retranslated site with better machine translation engine. Now in these languages: ar bn de en es fr hi id it ja ko pl pt ru tr zh.
Spent a lot of time working on transpolibre, now at PyPI too: https://pypi.org/project/transpolibre/
March 11th, 2025
Received replacement parts from Zenith.
March 8th, 2025
2.5 hours, 181.25 total
Received some McMaster-Carr parts.
Re-translate the site into Spanish with transpolibre.
Machine translate site into 40+ languages.
March 7th, 2025
Cold, snowy, and I’m waiting for parts, so I stayed inside.
I wrote an application to automate natural language translations better for this site and anywhere else: https://transpolibre.org
March 6th, 2025
5.25 hours, 178.75 total
Unpack and set up various things in the barn from Uline, like organizing bins, floor mats, etc.
Peruse forums, search ‘net about Super Duty.
Found a CH750 AFM. Contacted author to see if he wrote it or got it somewhere.
Add some 3rd party Zenith component suppliers; restore parts page.
Add other Zenith builders page.
Add forums page.
License these docs under both Apache 2.0 and Creative Commons CC by SA 4.0 International.
Update
Makefilebuild options and source code documentation.Add machine translation to Spanish (es) https://aircraft.moe/es/.
Add Languages page to site.
March 5th, 2025
1 hour, 173.5 total
Move workbench with vise from house up to barn.
Get 3/16" drill bits.
These parts need two 3/16" holes drilled each:
SD75H2-5,SD75H2-6,SD75H2-7,SD75H2-8.I used the pneumatic drill from the Zenith tool kit with Milwaukee drill bits. This damaged the parts as it seemed to “tear” the aluminum around the hole and didn’t create a clean hole. I used this drill for six of the holes. I’m not sure if it was the higher RPM (4000) of the pneumatic drill or what caused the issue.
I used a battery Milwaukee drill for two of the holes. This drilled clean and was no problem.
I (re-)ordered parts
SD75H2-5,SD75H2-6,SD75H2-7,SD75H2-8as three out of four of those were damaged using the pneumatic drill. Hmm.
March 4th, 2025
0.5 hours, 172.5 total.
Order compounding pad and cloths from Aircraft Spruce for polishing.
March 3rd, 2025
1 hour, 172 total.
Reviewing other images it doesn’t appear that SD75H2-11 needs holes on the sides, so that appears OK.
Emailed Zenith about SD75H2-8 hole size.
Zenith replied in less than 30 minutes. :) “Yes, 2-8 should be drilled to a 3/16 hole size for the bolt. Not a problem to drill it to accept the bolt in the doublers. Thanks for the update and I will check with production to update the parts.”
Hunting and gathering at Home Depot. Got new air compressor and other bits.
Set up air compressor.
March 2nd, 2025
5.75 hours, 170.75 total.
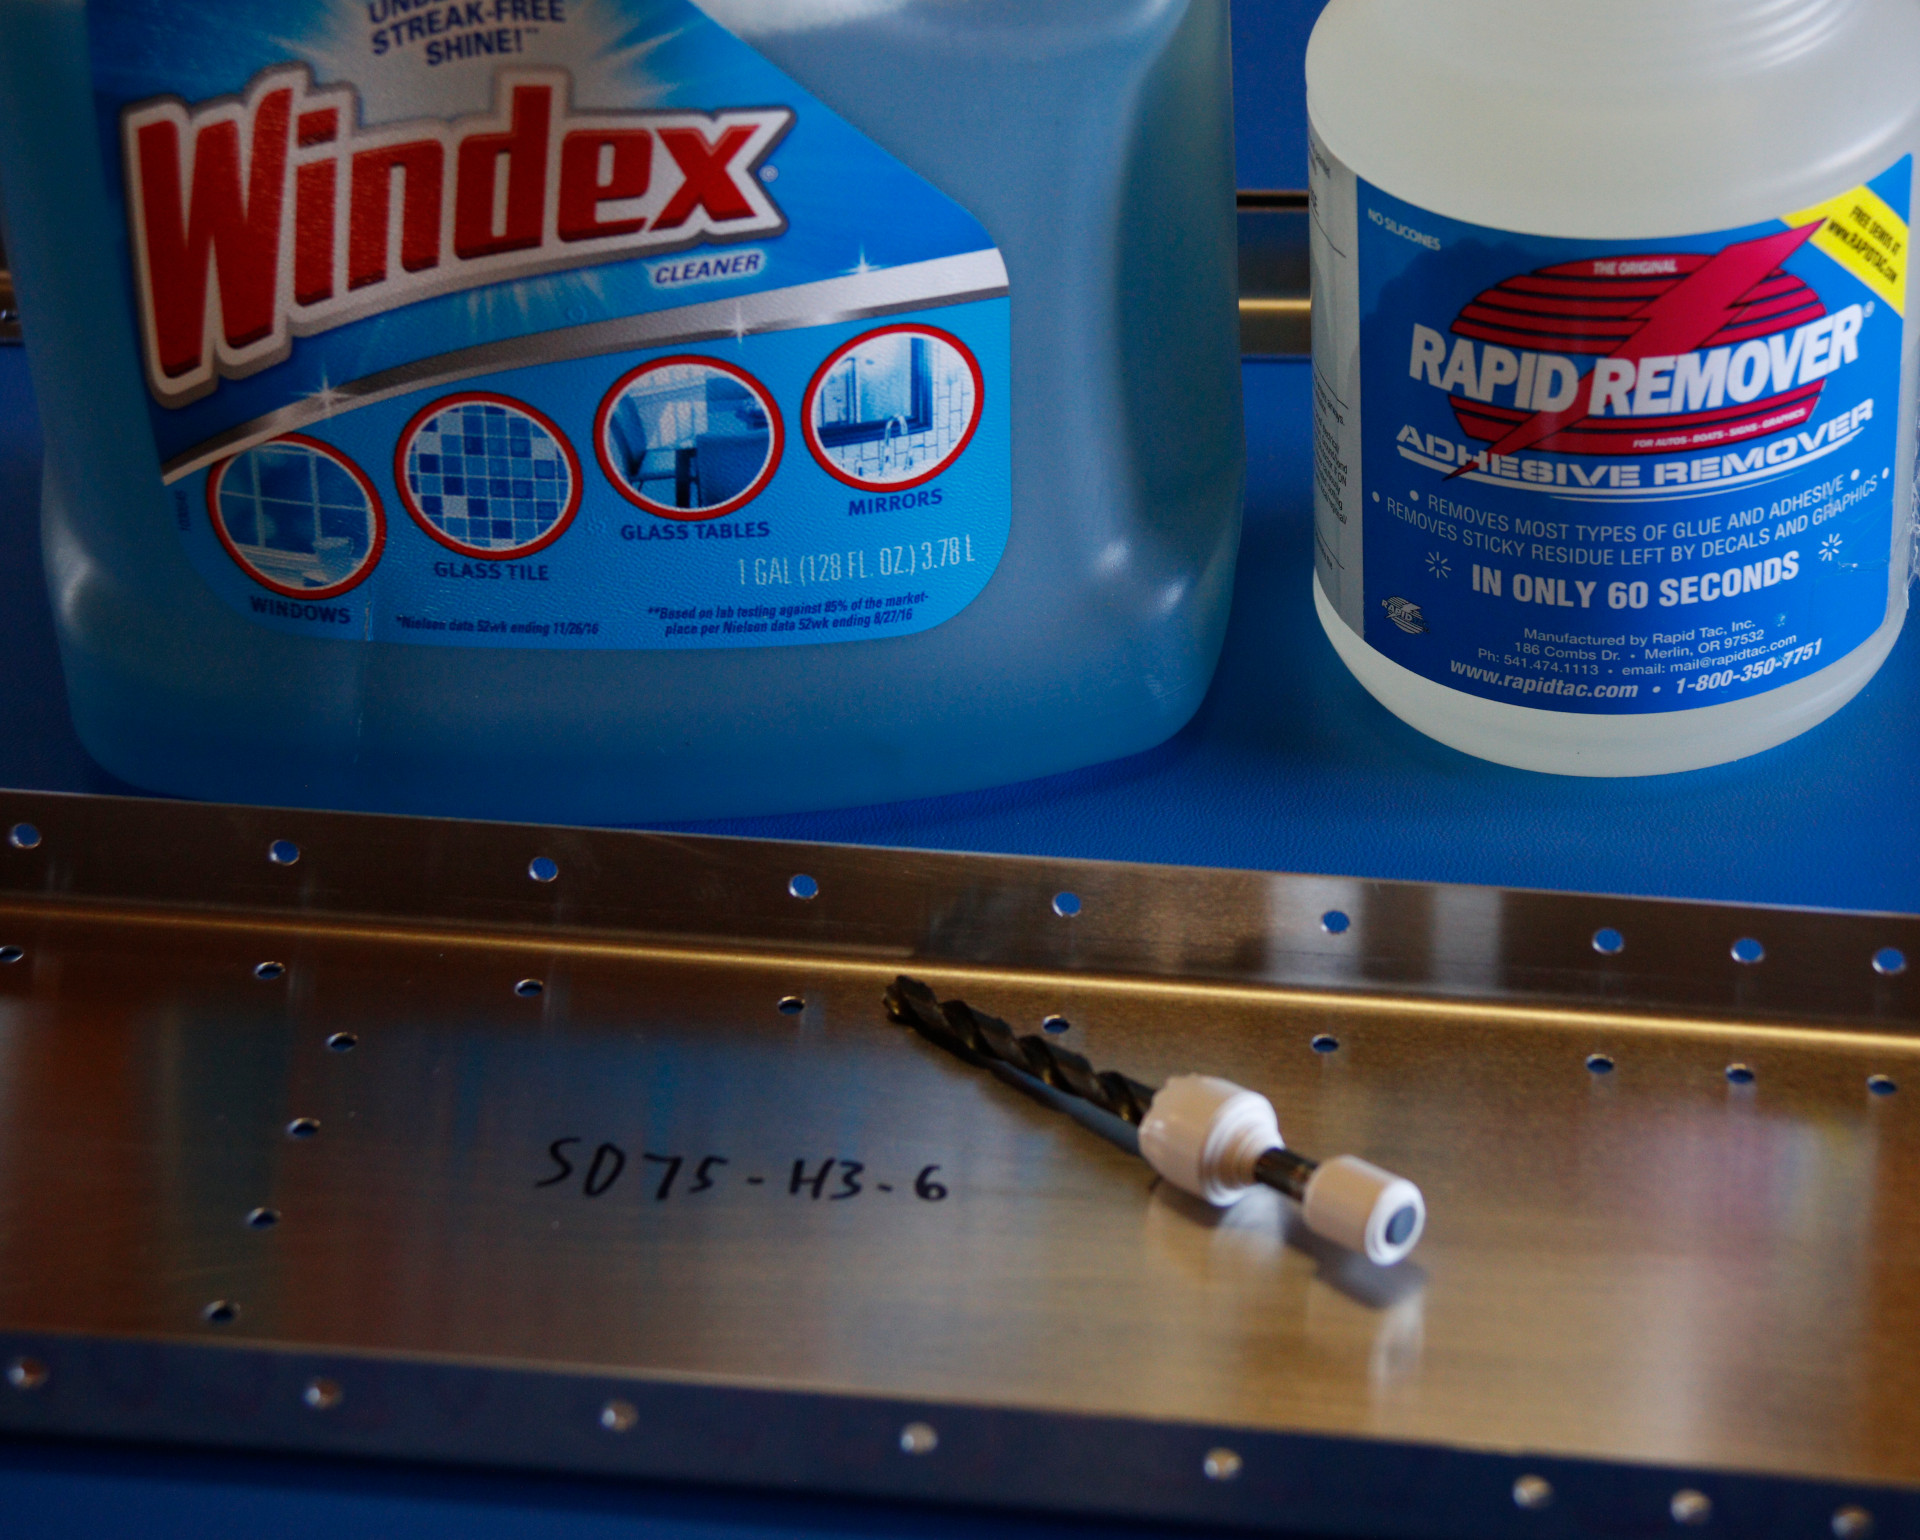
Remove some stickers from parts. This sounds easy, but it is a real waste of time because the stickers are “regular” stickers meant for cardboard shipping boxes. They don’t use “no stick”, “no residue” type stickers usually used in factory production. So each sticker has to be soaked in an adhesive remover for 60 seconds or so, then peeled off, then the adhesive remover chemical has to be cleaned up. I’m using Windex for that. The adhesive remover is Rapid Remover. If a proper sticker adhesive was used this would take two seconds.
Deburr SD75H3-6. This is done manually with a slightly oversided drill bit, as recommended by Zenith. It is sort of like spinning a pencil in your fingers, but a thousand+ times. It is very RSI inducing. It would be great if Zenith’s CNC would hit each hole with a deburring or reameer bit to clean these up. It would take more CNC time, but save builders a lot of tedious, brainless work.
Yes, deburring one large part and removing a few stickers took an hour…
Deburr and remove stickers from more parts.
Cleco various parts together.
I think there are some parts that have the wrong size holes. Need to be bigger. Will check with Zenith.
I think there is one part that is missing holes. Holes are in drawing, but not on part.
Wrote script to automate more for https://media.aircraft.moe/ site.
Break out assembly and log pages into their own pages so they don’t get too long (e.g. too many pics on a single page).